
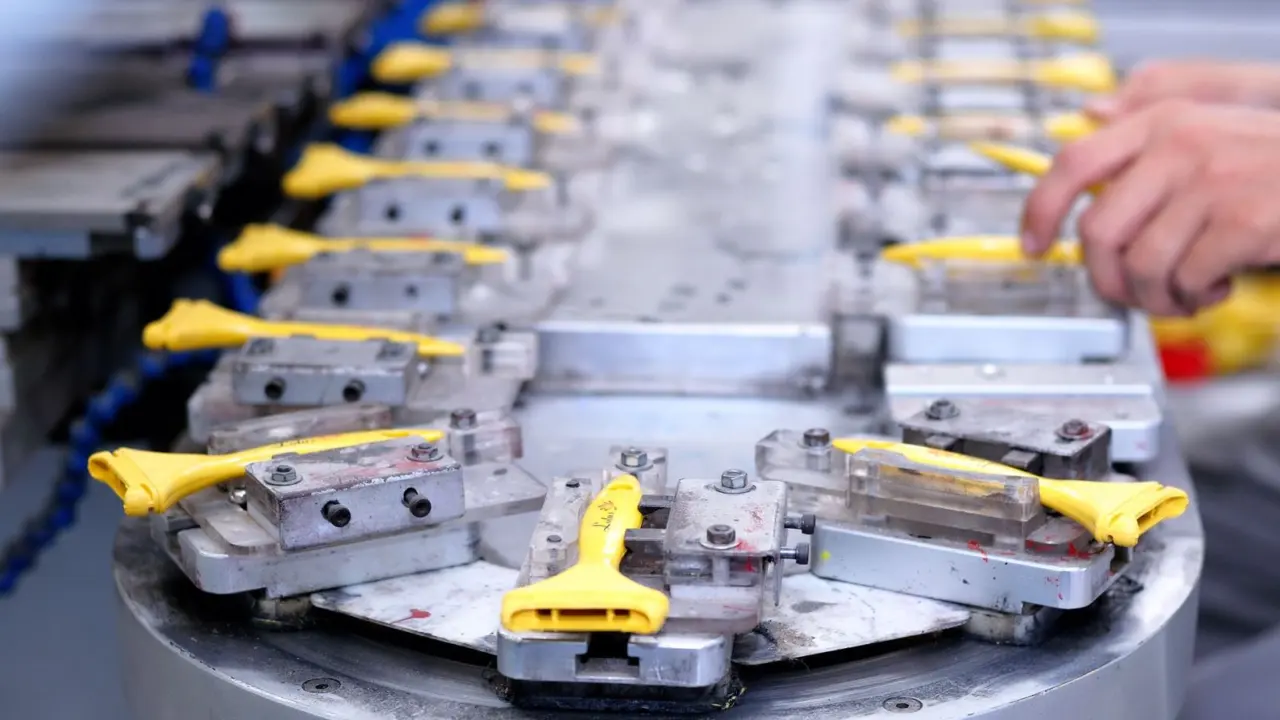
Your CAD model looks perfect, but can anyone build it affordably? The answer is design for manufacturing: shaping a part around how it will be made. Start with uniform walls, draft, radii and fewer undercuts.
If the field is new to you, start with what is industrial design for the wider picture.
| Item | Value |
|---|---|
| Tooling cost reduction from early DFM | Up to 30% |
| Piece-part price reduction from early DFM | 20% |
| Cooling time when wall thickness doubles | Quadruples |
| Wall-thickness transition | 3:1 ratio max |
| Rib thickness | 50-65% of wall |
| Inside corner radius | At least 0.5x the nominal wall thickness |
These figures come from supplier guides, such as Team Rapid’s injection molding design guidelines and Fictiv’s injection molding specifications. They can change, so check the source before you rely on them.
What design for manufacturing actually changes
A part can pass every digital check and still be hard to make. Design for manufacturing (DFM) ensures parts can be efficiently and economically produced, as a Skill-Lync injection molding lesson puts it.
The process you pick shapes the rules. Designing a plastic part for injection molding is fundamentally different from designing for 3D printing or CNC machining, according to the Team Rapid guide. This article uses injection molding as its worked example because published guidance there is detailed.
Timing matters too. The same guide says that implementing DFM principles early in the design phase can reduce tooling costs by up to 30% and piece-part prices by 20%. Those are one supplier’s claims, so read them as a direction rather than a promise.
The same guide lists the mistakes it sees most often:
- Walls that are too thick.
- Missing draft angles.
- Sharp internal corners.
- Ribs that are the wrong size.
For how making methods and design have shaped each other over time, see the history of industrial design.
Start with uniform wall thickness
Skill-Lync calls it the most important DFM rule: maintain uniform wall thickness throughout the part. Variations are what cause defects.
The reason is cooling. If wall thickness varies a lot, thicker sections cool slower than thinner ones, which creates differential shrinkage and leads to internal stress, warpage and sink marks, according to Team Rapid.
Fictiv’s specification page says to keep thickness uniform within ±10% and lists nominal ranges by material. ABS runs 1.2-3.5mm and polycarbonate 1.0-4.0mm, per Fictiv. Your manufacturer’s own limits may differ.
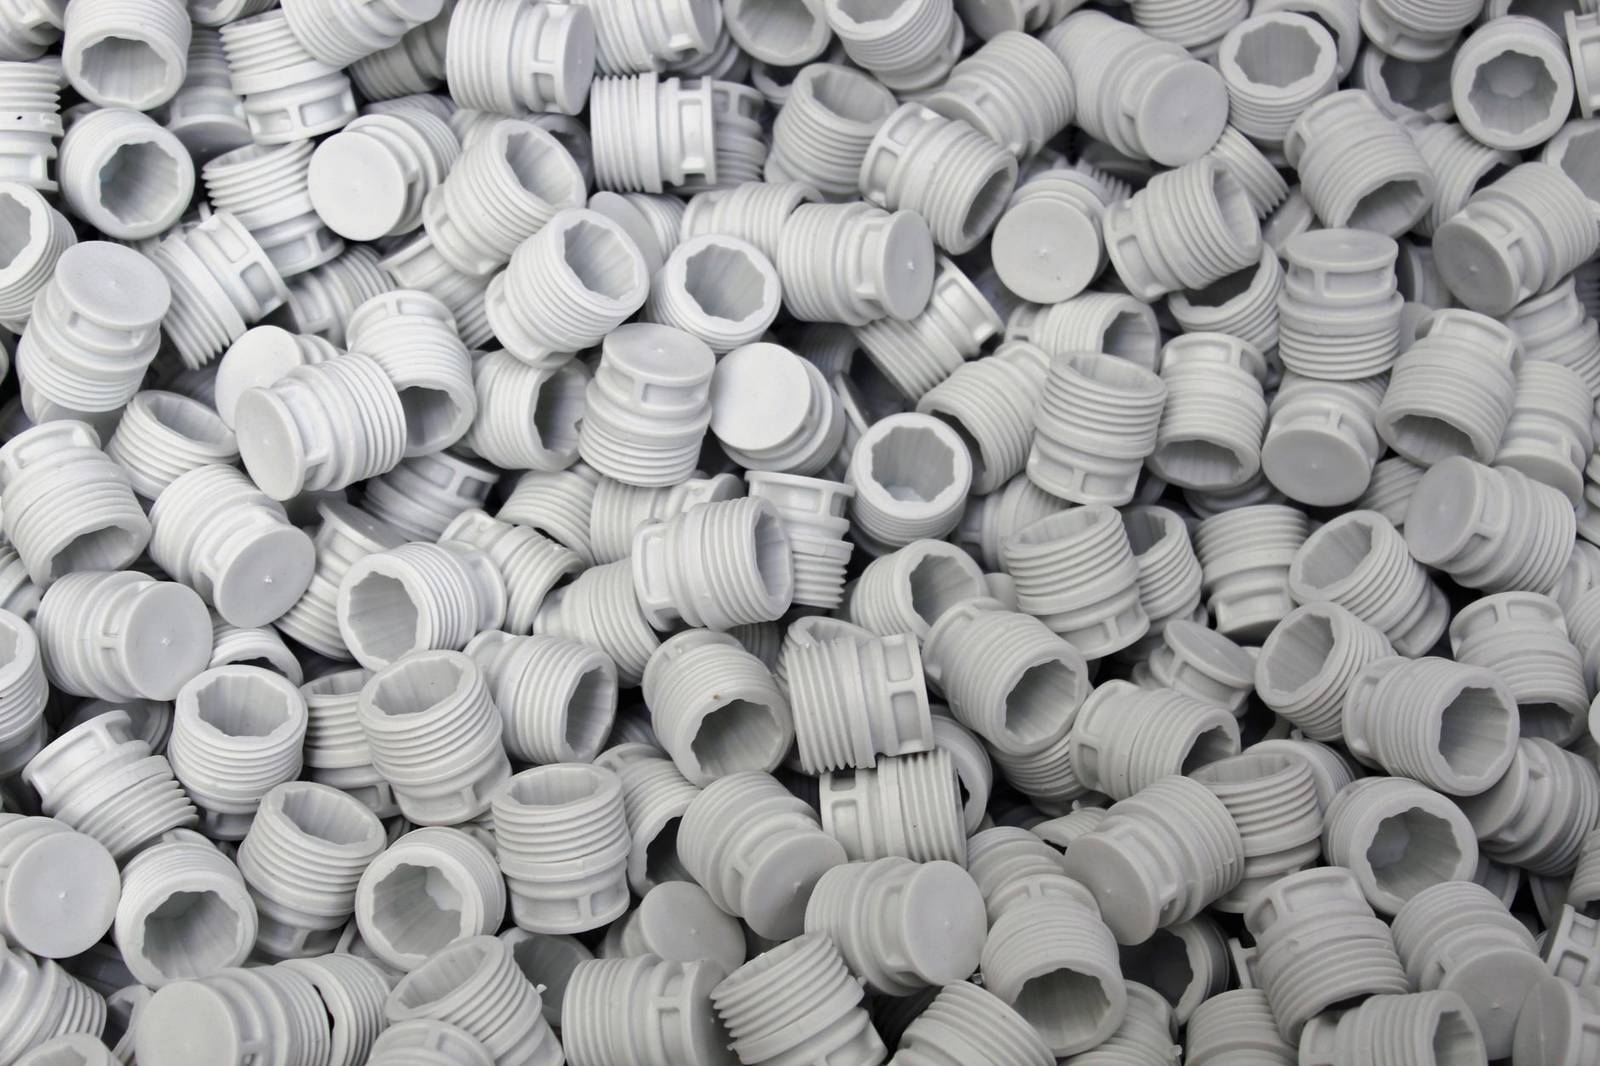
Thickness also drives time and money. Team Rapid states that cooling time increases with the square of the wall thickness, so doubling the wall quadruples the cooling time. A longer cycle means a higher piece-part cost.
When thickness has to change, keep these points in mind:
- Use a gradual transition, never an abrupt step.
- Keep the ratio at 3:1 maximum, as the Fictiv page puts it.
- Core out thick areas instead of leaving solid mass.
Draft, radii and undercuts
Draft angles
Molded parts have to leave the tool. Without a slight taper, the part will drag, scrape, or stick to the mold, causing ejection failures and surface defects, according to Team Rapid. That taper is called draft.
Draft needs differ by material, so Fictiv’s specification page lists recommended draft separately for rigid, semi-rigid and flexible plastics. Surface finish matters too: if a texture is deep and the draft is insufficient, Team Rapid warns that the texture will be sheared off the part during ejection.
Deep, narrow features need extra attention as well. For deep ribs, bosses, or high aspect-ratio features, Team Rapid advises increasing the draft angle, because a feature with minimal taper resists ejection and drags against the tool.
Radii instead of sharp corners
Sharp corners concentrate stress. Under load, a sharp corner can reduce the impact strength of a plastic part by up to 50%, per the Team Rapid guide.
The fix is a generous radius. The inside radius should be at least 0.5x the nominal wall thickness, and the outside radius should be the inside radius plus the wall thickness, so the wall stays even through the bend.
Undercuts
An undercut is a feature that blocks a straight pull from the mold. The Skill-Lync lesson gives a clear best practice: design to eliminate undercuts entirely.
When you cannot avoid them, side actions add cost and complexity and require maintenance. A simple swap helps in some cases: replace an internal thread with a threaded insert added after molding.
Ribs, bosses and other features
Ribs add stiffness without adding wall thickness. Fictiv gives a rib thickness of 50-65% of the wall and a height-to-thickness ratio of 3:1 maximum.
Skill-Lync is slightly tighter, at 50-60% of wall thickness. Its reasoning is that thicker ribs cause sink marks on the opposite surface. It also asks for ribs spaced at least 2× the wall thickness apart.
Bosses, the mounting points for screws and inserts, follow similar logic. Skill-Lync suggests an outside diameter of 2-2.5× the screw diameter and a boss wall of 50-60% of the nominal wall.
Two more decisions deserve attention early:
- Gate location: Fictiv says to place the gate at the thickest section and avoid cosmetic surfaces.
- Parting line: Skill-Lync recommends a simple, straight line, because complex parting lines add tooling cost.
How do you choose a process and a material?
Material changes the numbers. Fictiv lists shrinkage of 0.4-0.7% for ABS and 1.0-2.5% for polypropylene, so the same tool dimensions will not behave the same way in both. A deeper look at options is in materials used in product design.
Think about volume as well. Fictiv’s cost tips include aluminium molds for prototypes (under 10K shots) and a simple rule: fewer features means a simpler mold.
Published rules are not identical, as the rib figures above show. Treat them as a starting range, then confirm the limits with whoever will make the part.
A short DFM checklist before you release a design
The Skill-Lync lesson ends with a checklist. Run through these questions before a drawing goes out:
- Is wall thickness uniform?
- Are thick sections cored out?
- Is there draft on all vertical surfaces?
- Are ribs at or below 60% of the wall?
- Are bosses properly designed?
- Are all corners radiused?
- Are undercuts eliminated or minimized?
- Is the gate location suitable?
- Is the parting line placement acceptable?
Each yes removes a likely defect or a tooling cost before steel is cut.
Frequently asked questions
What is design for manufacturing?
Show answer
It is the practice of designing parts so they can be produced efficiently and economically. In injection molding that means attention to wall thickness, draft, radii, ribs, bosses and undercuts.
Does DFM only apply to injection molding?
Show answer
No. Team Rapid notes that designing for injection molding differs from designing for 3D printing or CNC machining, so the rules change with the process. The examples here focus on molding.
How much can DFM save?
Show answer
One supplier guide claims early DFM can reduce tooling costs by up to 30% and piece-part prices by 20%. Treat that as a supplier claim, and check it against your own quotes.
Which rule should I apply first?
Show answer
Uniform wall thickness. Skill-Lync calls it the most important DFM rule, and the other features, such as ribs and bosses, are sized as a share of the wall.